If you are wondering how you can create a photo silhouette with some free software then you could try using Google’s Picasa shoto software to get quite a good effect.
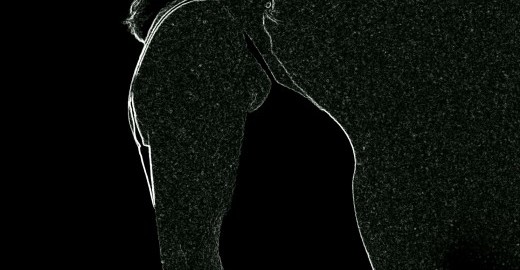
If you use the Neon effect tool in Picasa then this might give you what you are after. Using the Picasa Neon effect is simple and depending on how you use it you can get a silhouette effect or else you can have a level of detail in your photo. Personally I wanted to create a kind of chalk outline sketch effect which blanked out the features and just left an outline of the body. The good thing with this though is that you also get some of the internal lines of the image rather than just having a plain black silhouette.

How to Create This Effect
 To create this effect firstly open the photo you want to edit in Picasa. Although Picasa does create a backup of your photo itself, you may want to create a copy so that you can play around with that and not worry about messing up the original.
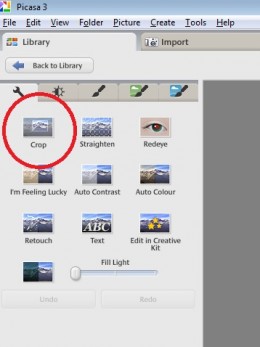
The first thing that I do is to crop the image to how I want it to look. The crop tool is on the first edit page and you can choose what format you want to use to crop the image to: you could keep the image in the same ratio as the photo was taken or you can just crop it manually to a size that you want.
Using the Neon Effect
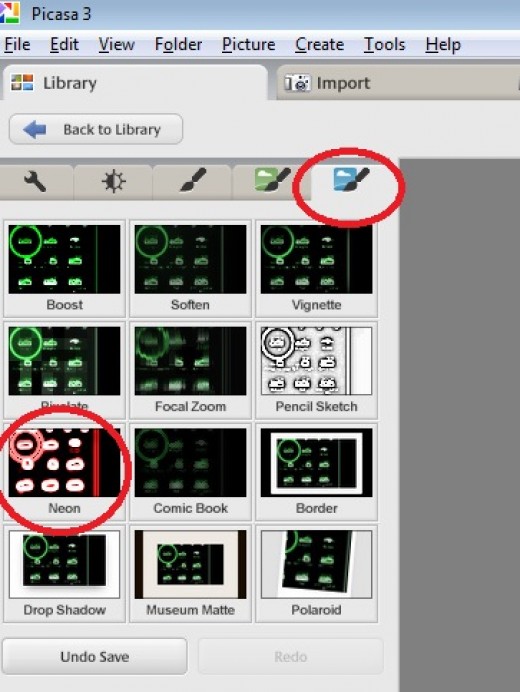
The Neon Effect icon is on the last page of the edit icons. I actually first used the black and white tool to change my photo to black and white before using the neon tool. In this way the colour I chose in the neon tool would not be clouded by any other colours in the picture.
With the neon effect you have two decisions to make:
- firstly, the colour that you want to use for your neon effect. You can choose any colour you like with the drop picker. and you can choose how dark or light you want the colour to be.
- secondly, how much fade you want to apply to the picture. The less fade you apply, the more the rest of the picture will be dark and you will just have highlighted areas. The picture on the right (and the one at the top) have no fade applied to them so that they appear more as monochromatic pictures or a silhouette as per the top one.
Other Picasa Tools
There are many tools you can get in Picasa that you pay for in other software, it really is pretty versatile. Obviously it doesn’t come close to tools like PhotoShop that you may need if you are doing detailed changes to images but for the everyday photographer it has almost everything that you need.
I find the crop tool is one of the most useful and also the fill light tool for those photos that come out a bit dark due to lack of light. You can also use the ‘I’m Feeling Lucky’ button which sometimes can be a bit hit and miss but other times can give you a quick good result!
If you do use the fill light tool then it can also be good to add a bit more contrast. You are pretty much in charge of what you want to do and can cancel and undo any of the changes you have made if you do something wrong.